一 背景介绍
有的生产环境中有访问限制不允许服务器访问公网,或者是混合云架构IDC资源是纯内网。这些情况下服务器无法直接安装软件,只能通过拷贝或者走代理方式解决软件安装问题。
但服务器资源量大就无法人肉一台台操作,此时自建Nexus仓库既能保持安全合规也能解决这类问题。
- Nexus介绍
nexus全称Nexus Repository Manager,是一个强大的仓库管理器,极大简化了内部仓库的维护和外部仓库的访问。
可用来做maven、docker、pypi、yum、npm、apt等的私有仓库,功能很强大。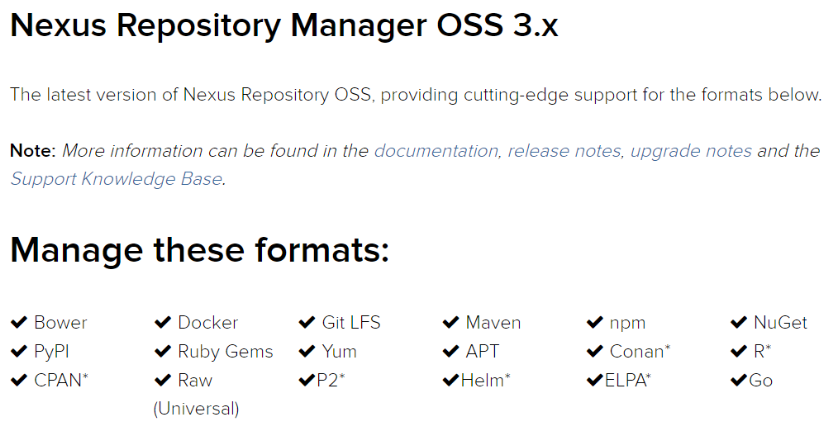
二 Nexus安装(Linux)
安装jdk环境
1
2
3
yum install java -y
# java-1.8.0-openjdk-1.8.0.302.b08-0.el7_9.x86_64
# 这里图简单直接用自带openjdk安装,建议使用oracle官网下载jdk安装下载nexus源码包
1
2
3
https://help.sonatype.com/repomanager3/download
# 按需下载,此处下载unix archive
wget https://download.sonatype.com/nexus/3/latest-unix.tar.gz安装nexus
1 | # 解压 |
- 配置系统服务
1 | vim /etc/systemd/system/nexus.service |
- 启动登录
1 | systemctl start nexus |

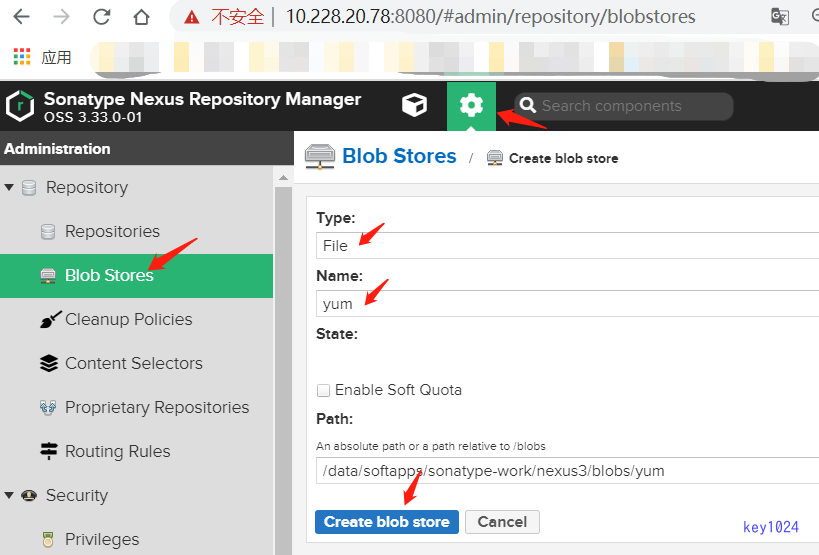
三 配置Nexus
1 | 创建步骤概述 |
- Yum仓库
1 | # nexus仓库配置 |
1 | # 内网服务器上设置 |
- pypi
1 | # nexus仓库配置 |
1 | # 客户端配置 |
- npm
1 | # nexus仓库配置 |
1 | # 客户端配置 |