背景
1 | 针对代码做构建后,上传到制品仓库后长期保存。 |
配置
Nexus、Jenkins安装部分省略,可参考网上资料。
Nexus
创建仓库
1
2
选择‘maven2(hosted)’类型的,其他配置按需设置。
可考虑开启 Allow redeploy,这样可针对同一个版本重新上传制品创建子用户
1
权限划分,每个用户只对应相关仓库权限
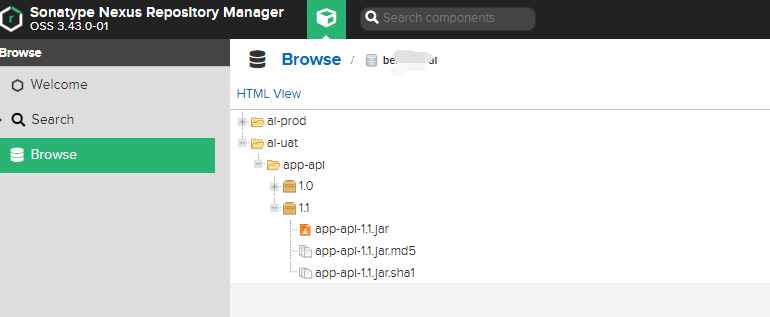
上传制品
1
一般上传有2种方式,nexus控制台上传、nexus api上传

Jenkins
安装插件
1
2
3
Build With Parameters:参数化构建,提供构建参数
Nexus Artifact Uploader:上传制品到nexus仓库(利用api)
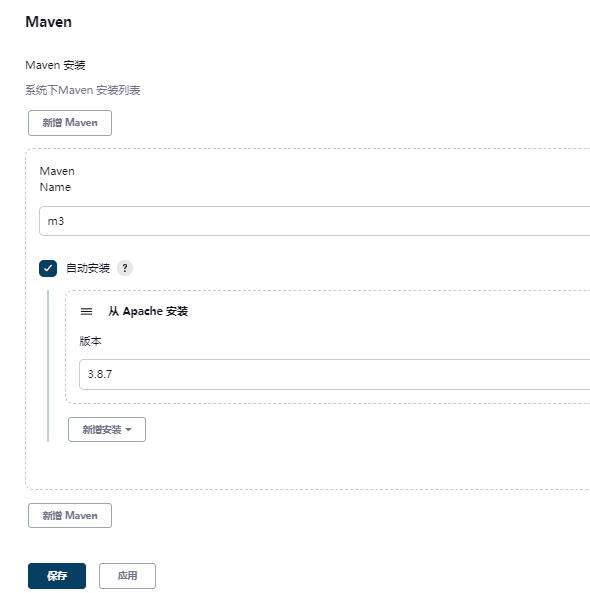
Git Parameter Plug-In:动态获取git仓库branch分支全局工具配置
1 | 系统管理->全局工具配置 |
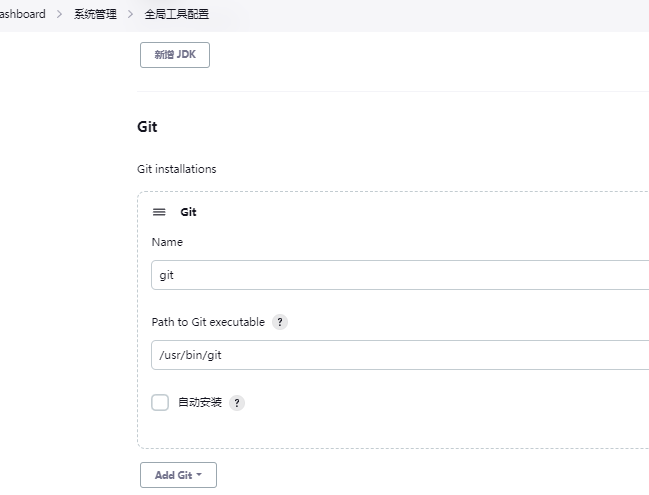
- General部分
新建任务,选择流水线
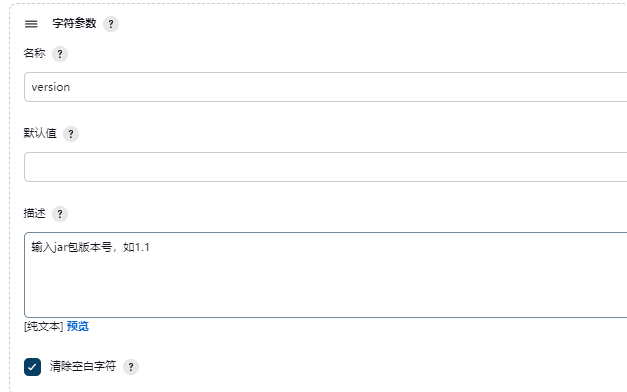
1 | # 添加参数,选择 Git参数构建 |
Git参数化构建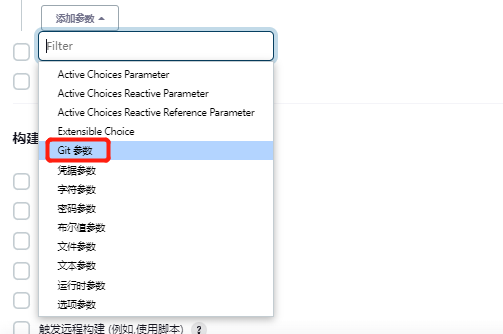

选项参数和字符参数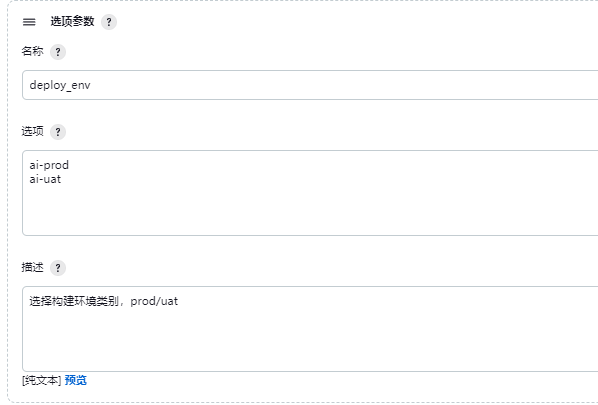
- 流水线部分
1
2
3
4
5
6
7
8
9
10
11
12
13
14
15
16
17
18
19
20
21
22
23
24
25
26
27
28
29
30
31
32
33
34
35
36
37
38
39
40
41
42
43
44
45
46
47
48
49
50
51
52
53
54
55
56pipeline {
agent any
environment {
ARTIFACTID = "app-api"
NEXUS_URL = "10.x.x.x:8081"
NEXUS_CRED_ID = "xxpp"
NEXUS_REPOSITORY = "xxi"
}
stages {
stage('Checkout') {
steps {
echo "拉取git源码"
checkout([$class: 'GitSCM',
branches: [[name: '*/${branch}']],
doGenerateSubmoduleConfigurations: false,
extensions: [],
submoduleCfg: [],
userRemoteConfigs: [[credentialsId: 'liyk_git', url: 'https://gitee.com/liyk1024/springboot-helloworld-demo.git']]])
}
}
stage('Maven Build') {
steps {
timeout(10) {
echo 'Maven Build Start'
script {
def mvnHome = tool name: 'm3', type: 'maven'
// sh "${mvnHome}/bin/mvn clean install -Dmaven.test.skip=true"
sh "${mvnHome}/bin/mvn -B -DskipTests clean package"
}
}
}
}
stage('PublishArtifact') {
steps {
script{
pom = readMavenPom file: "pom.xml";
filesByGlob = findFiles(glob: "target/*.${pom.packaging}");
echo "${filesByGlob[0].name} ${filesByGlob[0].path} ${filesByGlob[0].directory}"
artifactPath = filesByGlob[0].path;
nexusArtifactUploader artifacts: [[artifactId: ARTIFACTID,
classifier: '',
file: artifactPath,
type: 'jar']],
credentialsId: NEXUS_CRED_ID,
groupId: "${deploy_env}",
nexusUrl: NEXUS_URL,
nexusVersion: 'nexus3',
protocol: 'http',
repository: NEXUS_REPOSITORY,
version: "${version}"
}
}
}
}
}
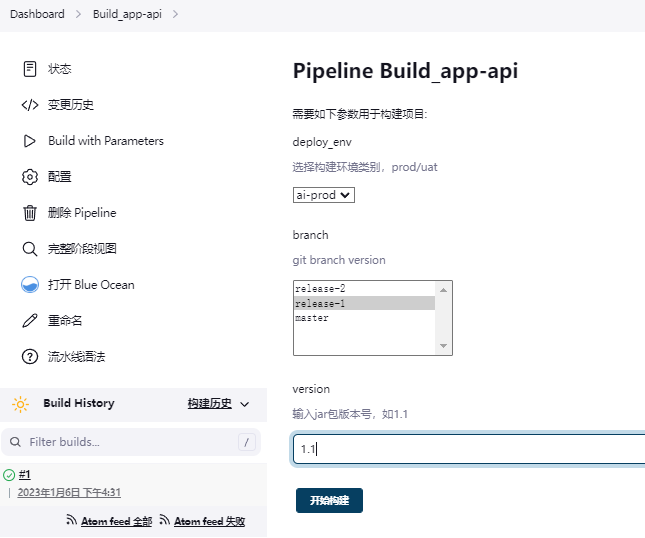
效果演示
- 参数化构建
- 构建成功

- 上传制品