前言
本文介绍将已有的公有云资源导入terraform,以及如何通过复制文件的方式创建新资源,完成跨地域复制。
导入已有资源
terraform支持单个资源导入以及通过开源工具实现多资源导入
- 资源文件
1 | # main.tf |
导入单个资源
- 新建空资源对象
1 | # main.tf |
- 命令行导入
1 | # 控制台查看到已有vpc的id |
- 查看导入资源代码并补充到main.tf
1 | terraform show |
1 | resource "tencentcloud_vpc" "import_vpc1" { |
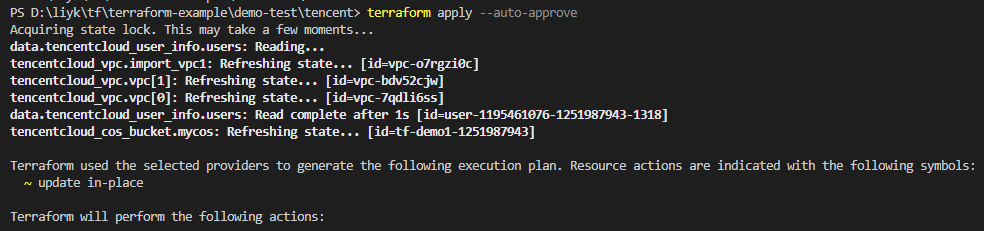
- 再次执行apply验证
1
terraform apply --auto-approve
批量导入
资源量较多时可借助terraformer进行批量导入。terraformer是GoogleCloudPlatform 的命令行工具,可以把账号下大部分云资源标记并导入为 TF 文件。
- 安装
1
2https://github.com/GoogleCloudPlatform/terraformer/releases
# 这里有all版本比较大,这里测试方便选择针对腾讯云的

- 导入
1
terraformer import tencentcloud --resources="vpc,security_group" --regions=ap-beijing
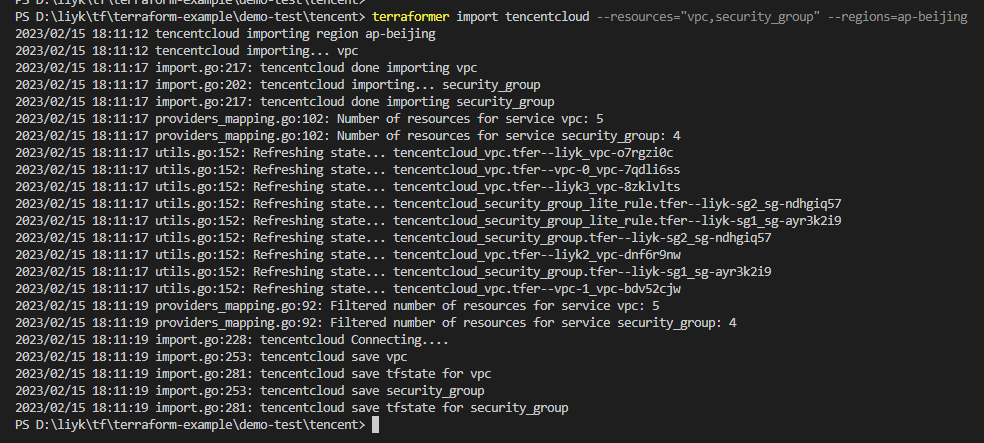
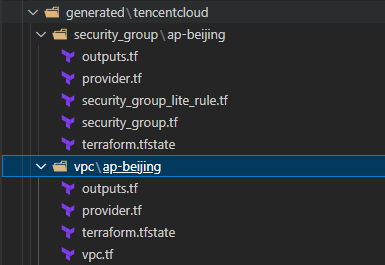
执行命令后在当前执行位置写入./generated目录,此例导入vpc和sg
当然并不是所有资源terraformer都支持导入,具体参考源码列表:https://github.com/GoogleCloudPlatform/terraformer/tree/master/providers/tencentcloud
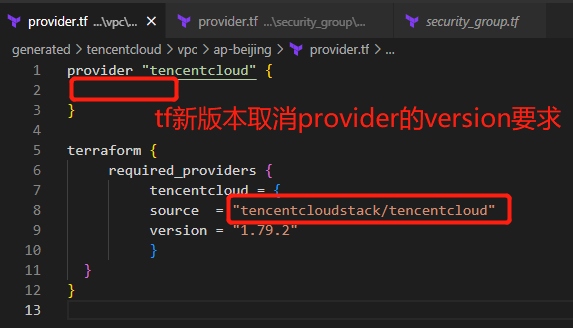
- 修改源
更改provider.tf文件,按云资源环境添加对应source字段
导入已有资源并关联绑定其他资源
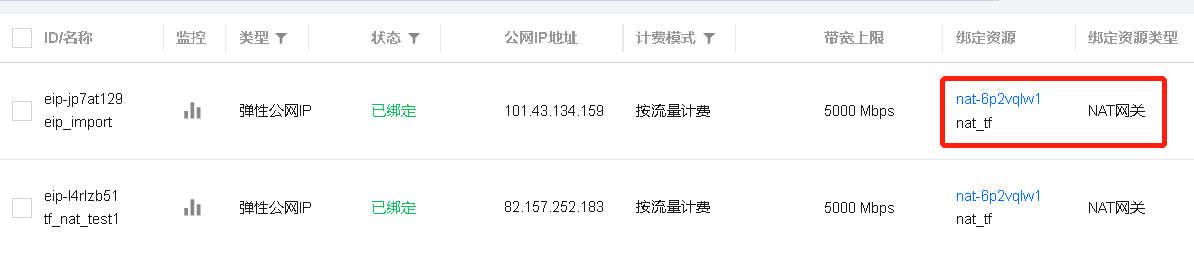
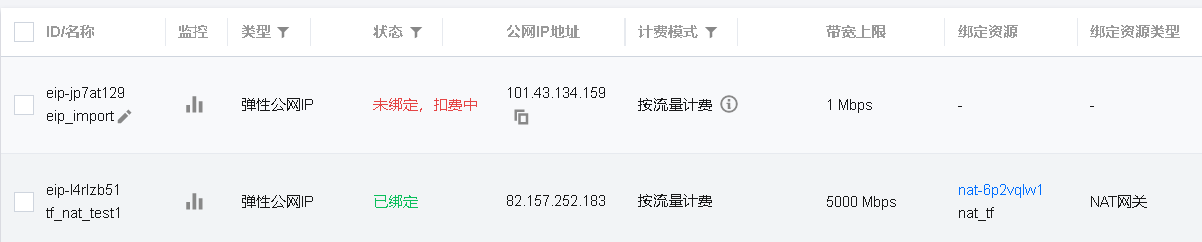
本次测试将已有的eip导入terraform,同时将该资源与tf中创建的nat网关绑定
- tf创建nat网关和eip
1 | # provider.tf |
控制台创建eip,复制下资源id
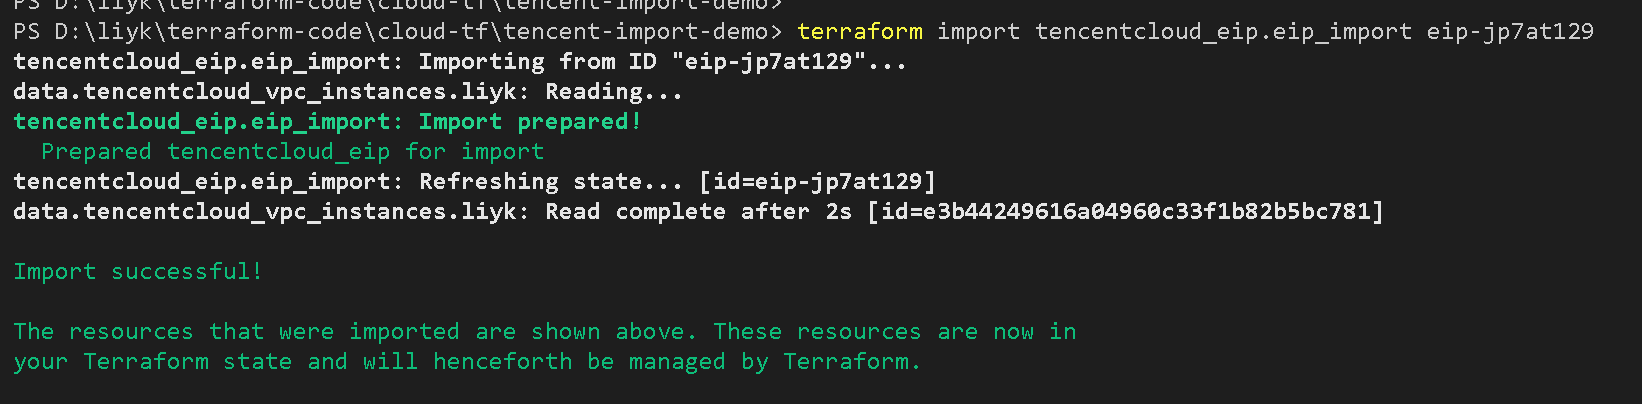
tf中导入eip
1 | # 首先创建空resource来放置需要导入的eip |
- 获取tfstate状态文件修改到tf文件中
1
2
3# 查看state文件
terraform show ,或者直接查看terraform.tfstate文件
把eip唯一属性值name编辑到tf中

绑定新增eip到nat网关
1
2
3
4
5
6
7
8
9
10
11# 创建nat网关
resource "tencentcloud_nat_gateway" "nat_test" {
vpc_id = "${data.tencentcloud_vpc_instances.liyk.instance_list[0].vpc_id}"
name = "nat_tf"
bandwidth = 10
max_concurrent = "1000000"
assigned_eip_set = [ "${tencentcloud_eip.eip1_nat.public_ip}",
"${tencentcloud_eip.eip_import.public_ip}" # 新导入eip绑定
]
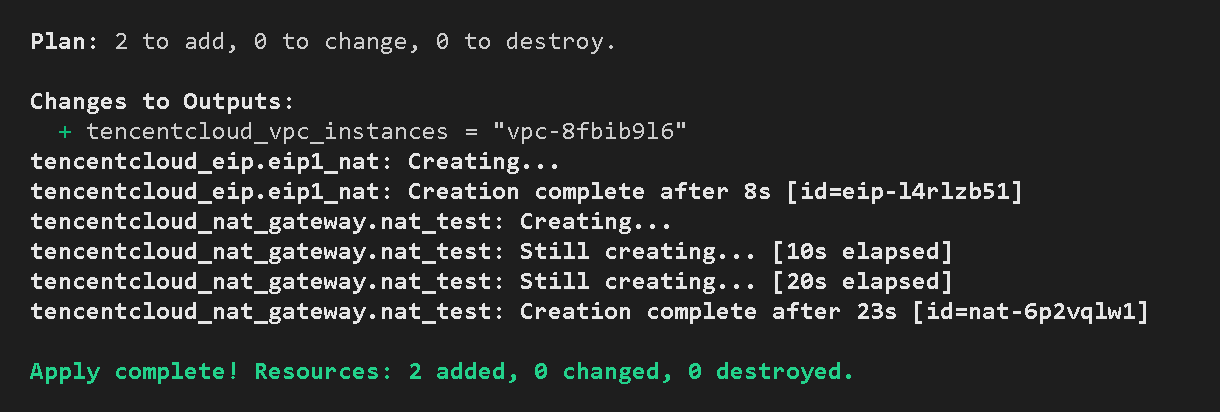
}执行apply绑定并同步资源到tfstate
1
terraform apply --auto-approve